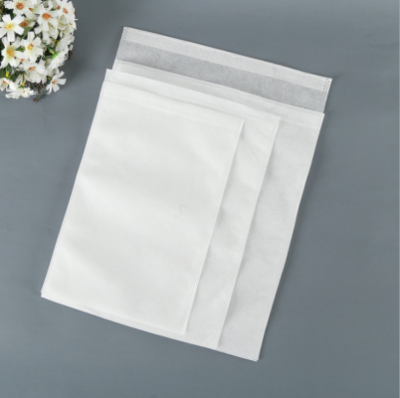
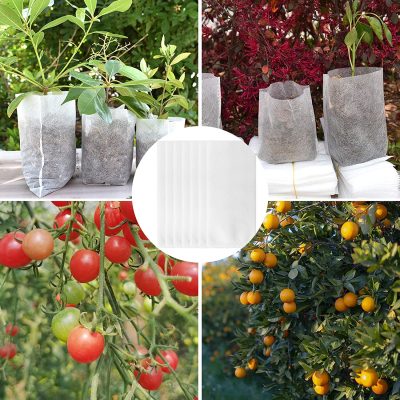
Planting and transplanting in non-woven grow bags is a straightforward process. Here’s a step-by-step guide to help you:
Planting in Non-Woven Grow Bags:
- Choose the appropriate size: Select a non-woven grow bag size that suits the needs of your plant, considering its mature size and root system. Ensure the bag provides sufficient space for the roots to grow and spread.
- Fill the grow bag with potting mix: Fill the grow bag with a high-quality, well-draining potting mix. Avoid using garden soil, as it may be too dense and lack proper aeration and drainage.
- Create a planting hole: Make a hole in the center of the potting mix that is deep and wide enough to accommodate the root ball of your plant.
- Place the plant in the hole: Gently place the plant’s root ball into the hole, ensuring it is positioned at the appropriate depth. The top of the root ball should be level with or slightly above the soil surface.
- Backfill with soil: Fill the space around the root ball with additional potting mix, gently pressing it down to eliminate air pockets. Leave a small gap between the soil surface and the top of the grow bag for watering.
- Water thoroughly: After planting, thoroughly water the grow bag to settle the soil and provide moisture to the plant’s roots. Ensure that water penetrates the entire root zone.
- Provide support if necessary: If you are planting tall or vining plants, install stakes, trellises, or cages to provide support and prevent them from falling over or sprawling.
Transplanting in Non-Woven Grow Bags:
- Choose a new grow bag: Select a larger non-woven grow bag if you are transplanting a plant that has outgrown its current container. The new grow bag should provide enough space for the root system to expand.
- Prepare the new grow bag: Fill the new grow bag with fresh potting mix, leaving enough space at the top to accommodate the plant’s root ball.
- Water the current grow bag: Thoroughly water the plant in its current grow bag a few hours before transplanting. This helps loosen the soil and ease the removal of the root ball.
- Remove the plant from its current container: Gently remove the plant from its current grow bag or pot, being careful not to damage the roots. You can tap the sides of the container or squeeze it slightly to loosen the root ball.
- Place the plant in the new grow bag: Position the plant’s root ball in the center of the new grow bag, ensuring it is at the appropriate depth. The top of the root ball should be level with or slightly above the soil surface.
- Backfill with soil: Fill the space around the root ball with additional potting mix, gently pressing it down to eliminate air pockets. Leave a small gap between the soil surface and the top of the grow bag for watering.
- Water thoroughly: Water the transplant immediately after planting to provide moisture to the roots and help settle the soil. Ensure that water reaches the entire root zone.
- Monitor and care for the transplanted plant: Keep an eye on the transplanted plant and provide appropriate care, including regular watering, fertilization, and any necessary support or pruning.
By following these steps, you can successfully plant and transplant your plants in non-woven grow bags, providing them with a suitable growing environment for healthy root development and overall growth.


