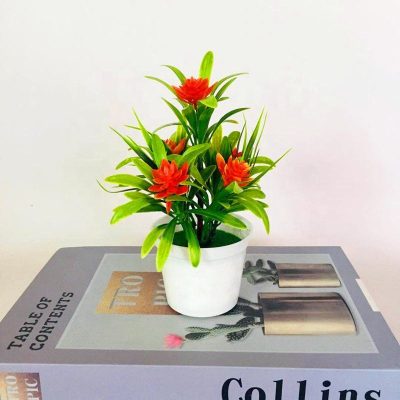
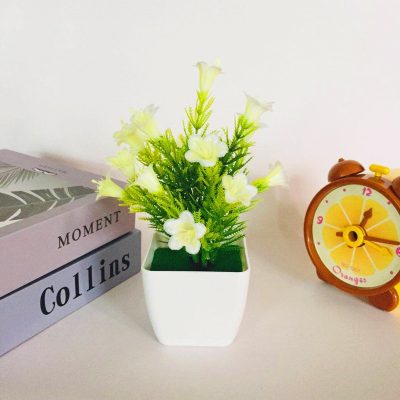
Planting in plastic pots can be an efficient and practical way to grow a wide variety of plants. Here is a step-by-step guide to help you successfully plant in plastic pots:
- Choose the Right Pot Size: Select a plastic pot that is appropriate for the size of your plant. The pot should have enough room for the plant’s roots to grow and expand. As a general guideline, choose a pot that is 1-2 inches larger in diameter than the plant’s root ball.
- Prepare the Pot: Ensure that the plastic pot has drainage holes at the bottom. If the pot does not have any holes, use a drill or a hot nail to create them. Adequate drainage is essential to prevent waterlogging and root rot.
- Add Drainage Material: Place a layer of drainage material, such as small rocks or pieces of broken pottery, at the bottom of the pot. This helps to facilitate water drainage and prevents the potting mix from becoming compacted at the bottom.
- Choose the Right Potting Mix: Select a high-quality potting mix suitable for the type of plant you are growing. Avoid using garden soil, as it may not provide adequate drainage or nutrient balance. Look for potting mixes specifically formulated for container gardening, which are lightweight and well-draining.
- Fill the Pot with Potting Mix: Fill the plastic pot with potting mix, leaving enough space at the top to accommodate the plant’s root ball. Gently tap the pot to settle the soil and remove any air pockets.
- Plant the Seedling or Seeds: If you are planting a seedling, gently remove it from its nursery container, loosen the roots, and place it in the center of the pot. Adjust the soil level, ensuring that the seedling is planted at the same depth as it was in its previous container. If you are planting seeds, follow the specific instructions on the seed packet for planting depth and spacing.
- Backfill and Firm the Soil: Carefully backfill the potting mix around the seedling or seeds, ensuring that there are no air gaps. Lightly firm the soil around the plant to provide support.
- Water the Plant: After planting, thoroughly water the plant until you see water draining out of the drainage holes. This helps settle the soil and ensures that the roots are adequately moistened.
- Provide Proper Care: Place the plastic pot in an appropriate location based on the plant’s light and temperature requirements. Monitor the moisture level of the potting mix and water the plant when the top inch of the soil feels dry. Regularly fertilize the plant according to its specific needs.
- Monitor Growth and Transplant as Needed: As your plant grows, monitor its size and root development. If the plant becomes root-bound or outgrows the pot, it may be necessary to transplant it into a larger plastic pot.
Remember to label your plastic pots to keep track of the plant varieties. Regularly inspect the plastic pots for any signs of damage or wear, and replace them if necessary. By following these steps and providing proper care, you can successfully grow plants in plastic pots from seeds to beautiful blooms.


